Last updated October 30, 2026
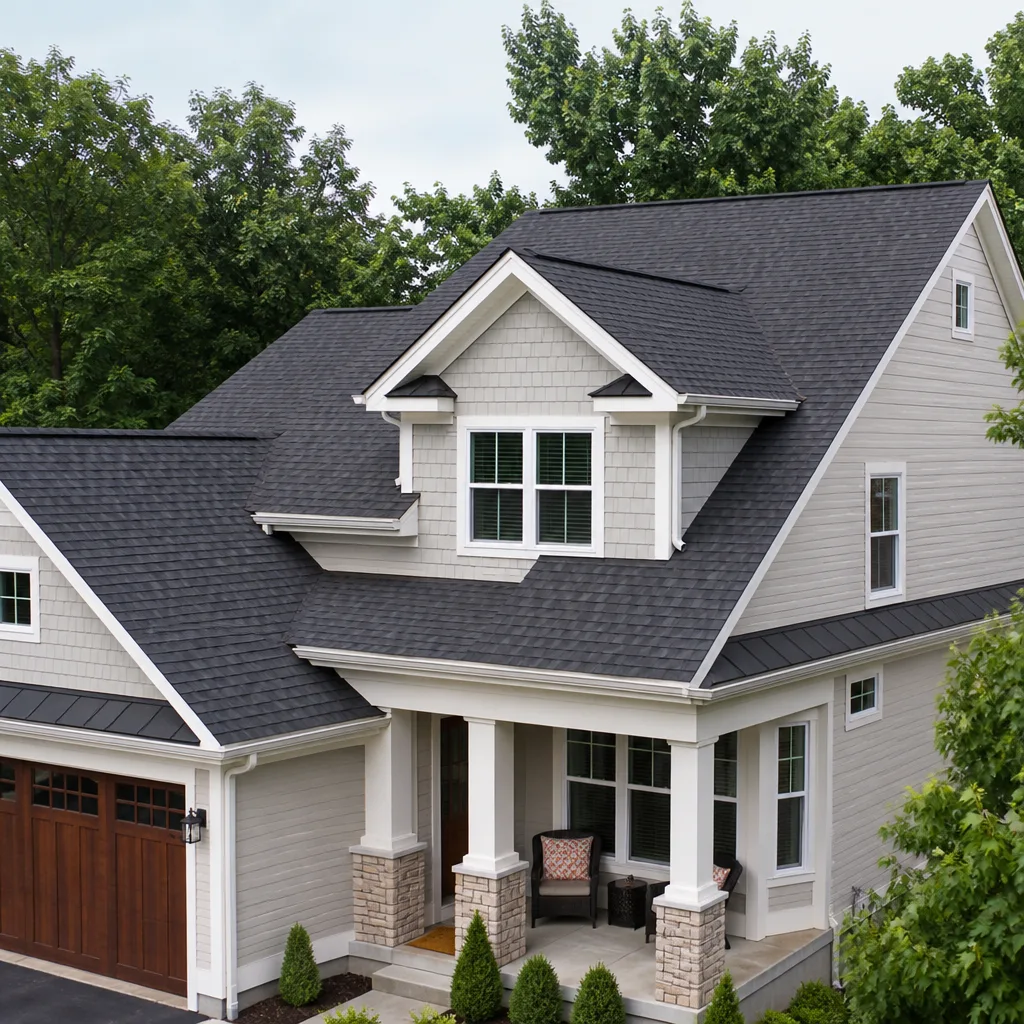
 Architectural shingles
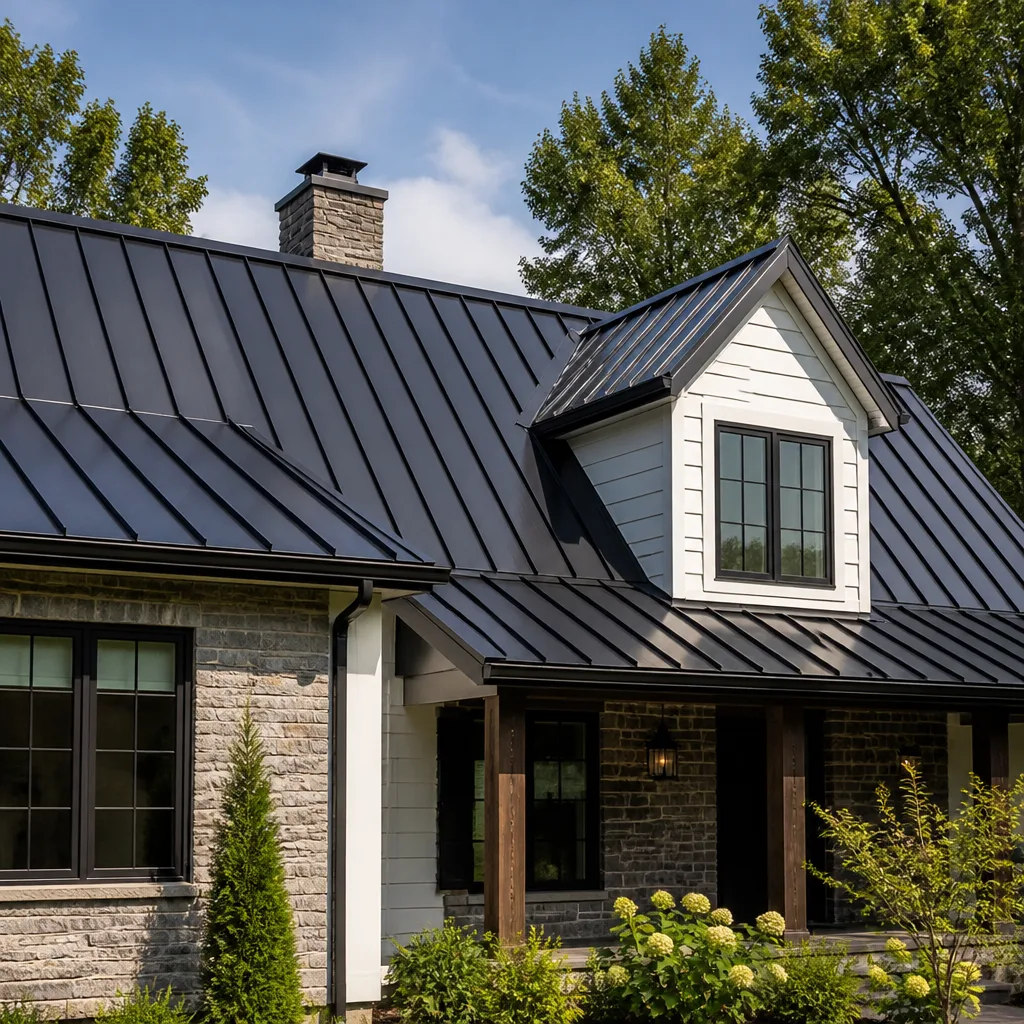 Metal roofing
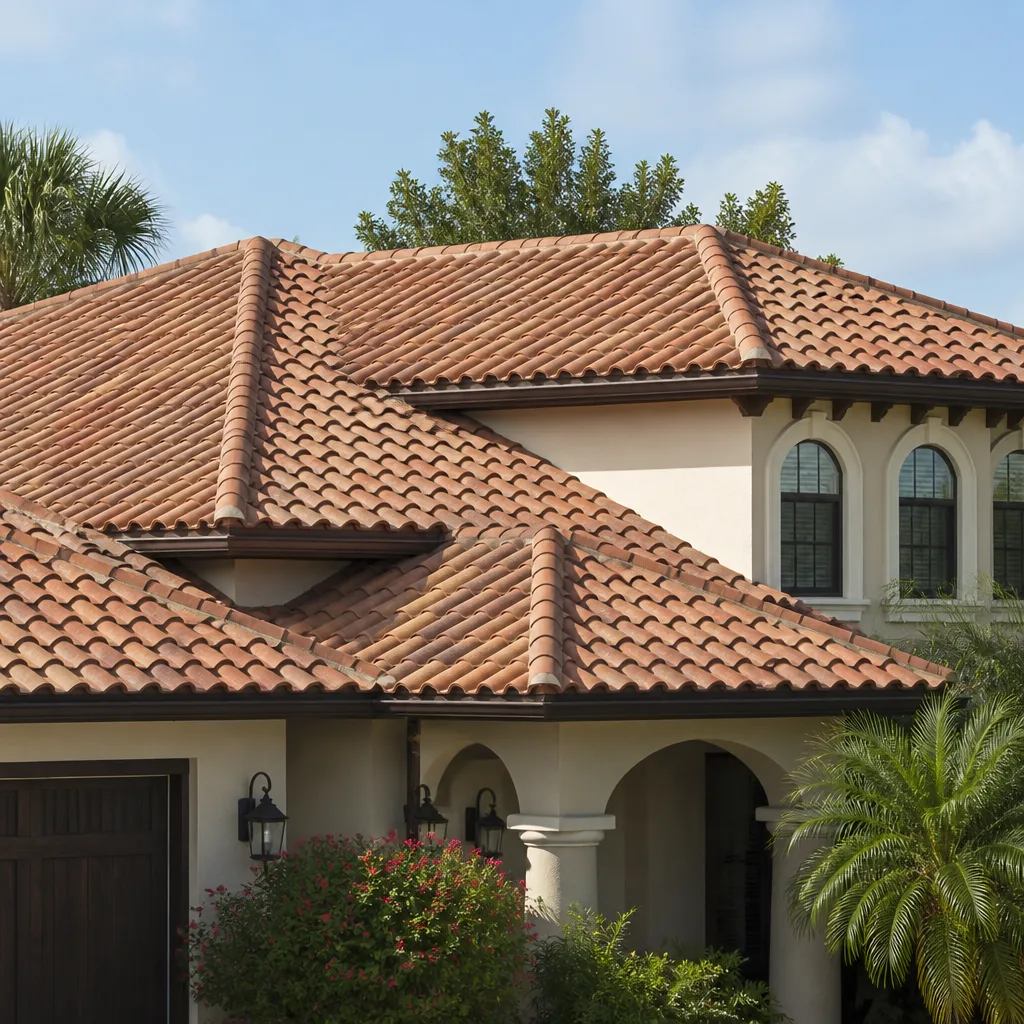 Tile roofing
 GAF
 Owens Corning
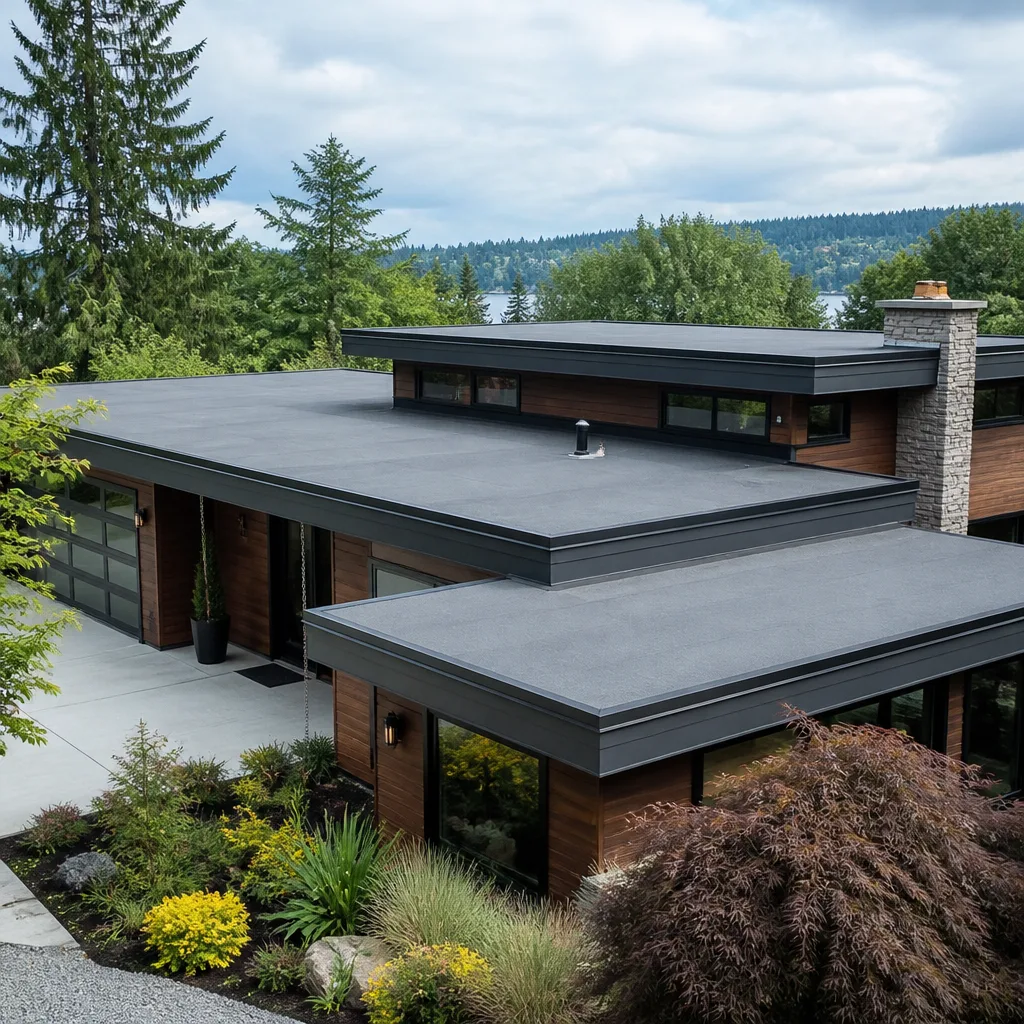 Flat & low-slope
Free roof inspection with deck photos before we talk money - GAF and Owens Corning certified installation
Roof Repair Troubleshooting: Common Problems and How to Fix Them
Water enters your roof in one place and shows up on your ceiling in a completely different one. The leak you see at 2 AM is almost never directly above the wet drywall, and patching the obvious spot is the most common reason roofs get “repaired” three times before the problem actually goes away. In Newport Beach, where marine air keeps roof decks damp and salt mist accelerates flashing corrosion, misdiagnosis happens more often than homeowners realize. This guide teaches you to trace roof damage back to its actual origin before anyone climbs a ladder, so you call a contractor offering Roof Repair services with a real diagnosis instead of a guess.
Quick Answer
Roof repair troubleshooting means tracing visible symptoms (ceiling stains, lifted shingles, granules in gutters) back to their actual entry point, which is often feet or even yards away from the visible damage. Start with an attic inspection in daylight, identify whether the issue is a penetration point (pipe boot, vent, flashing) or a field problem (shingle failure, decking rot), then decide if the repair is a sealant-level fix or a structural one. Most surface symptoms mislead homeowners into repairing the wrong spot, so diagnosing the water path before touching anything is the single most valuable step. For Roofing Cost Breakdown: The Newport Beach Homeowner’s Reference for 2026, see our detailed pricing guide.
Styles & brands we work with
Table of Contents
- How Water Travels: Why the Stain Is Never Directly Above the Leak
- The Attic Inspection Step Most Homeowners Skip
- Problem-Specific Diagnosis: What Each Symptom Actually Means
- Which Roof Repairs Are Safe for DIY (and Which Are Not)
- Red Flags in a Repair Estimate: Signs the Contractor Guessed
- Material Matching: Why the Replacement Shingle Brand Matters
- Newport Beach-Specific Roof Problems
- Preventing Repeat Repairs: Fixing the Source, Not the Symptom
How Water Travels: Why the Stain Is Never Directly Above the Leak
Water obeys gravity, but it also follows surfaces. On a roof, those surfaces are rafters, decking seams, underlayment wrinkles, and the underside of shingles. When water enters through a small breach in the roofing material, it doesn’t drop straight down like a stone. It clings to the underside of the decking and travels along the slope until it hits a seam, a rafter, or a nail penetration, and only then does it drip. That drip point can be 5, 10, or even 30 feet from the actual entry point, horizontally and vertically.
In our experience working on roofs across Newport Beach, we regularly trace ceiling stains to pipe flashings two rafters upslope, or to a lifted shingle near the ridge that drips onto a truss and travels to the opposite side of the attic before falling. The classic homeowner mistake is to look at the ceiling stain, mark the corresponding spot on the roof deck, and call a roofer to “fix that spot.” The roofer shows up, sees nothing wrong at that exact location, and either applies sealant where it won’t help or guesses at a nearby penetration. Months later, the stain returns.
Here is how water actually travels on a typical asphalt shingle roof:
- Along the underlayment: Felt or synthetic underlayment is lapped horizontally, and water can run sideways along a lap edge before finding a seam to penetrate.
- Down rafter channels: Once water is inside the attic space, it follows the top edge of a rafter or truss chord like a channel, dripping only when it reaches a knot, a joint, or a point where the rafter changes angle.
- Along decking seams: Plywood and OSB sheets are butted together with small gaps. Water entering one sheet edge can travel the full 4×8 sheet before exiting at a seam.
- Through nail holes: A popped nail or a nail driven through a shingle at the wrong angle leaves a tiny channel that water follows straight down the shaft into the attic. The entry point is a pinprick.
- Around penetrations: Pipe boots, vents, chimneys, and skylights are the most common true entry points. Water enters around the flashing and travels inward, often surfacing at a ceiling far from the penetration itself.
This is why we inspect before we recommend. A repair that doesn’t trace the full water path is a repair that will fail. Our Roof Inspection in Lynwood service starts with the interior, not the shingles, because the water path inside the attic tells us more than the surface ever could.
The Attic Inspection Step Most Homeowners Skip
Before anyone gets on your roof, you should get into your attic. In daylight, with a good flashlight, an attic reveals more about roof health than any exterior walkaround, and it costs nothing. The problem is that most homeowners never go up there, and many contractors skip this step too, especially when they’re quoting from the ground.
Here is a step-by-step attic inspection you can do in about 20 minutes. It works best on a bright, cloudless day, because you’re looking for light penetration.
- Go up during full daylight. Turn off any attic light and let your eyes adjust for 2-3 minutes. You’re looking for pinholes of sunlight coming through the roof deck. Every pinhole is a potential water entry point.
- Scan the decking from eave to ridge. Look for dark staining, which indicates active or past moisture. In Newport Beach, where morning marine layer fog is common, early morning attic inspections often show condensation patterns that disappear by afternoon, so go mid-morning or later for the clearest picture.
- Check every penetration. Pipe boots, vent pipes, exhaust flues, and any electrical conduit running through the roof deck. Run your hand (carefully, watch for nails) along the underside of each penetration. Any softness, darkening, or white efflorescence means moisture has been present.
- Inspect rafter ends and insulation. Wet insulation loses its loft and feels heavier than dry insulation. Stained rafter ends near the eaves often point to a gutter or drip-edge problem rather than a shingle problem.
- Look for daylight at the ridge and eaves. A properly constructed attic has ventilation at the ridge and soffits, but you should not see direct cracks of daylight through the decking itself.
- Document everything. Take photos with your phone, especially of staining and light penetration points. These photos are gold when you call a roofer, because they show the contractor exactly where to focus.
One Newport Beach-specific note: homes in the Corona del Mar and Balboa Peninsula areas often have low-slope or flat sections with torch-down or TPO roofing, not shingles. If your attic inspection reveals staining on a flat section, the water path is different: it pools and spreads laterally rather than channeling down a rafter. That changes the diagnosis approach entirely, which is why a roofer who only does shingle work will often misread a flat-roof leak.
Problem-Specific Diagnosis: What Each Symptom Actually Means
Every visible symptom on a roof points to something, but rarely to the thing homeowners assume. Here is the matrix we use when diagnosing roofs in Newport Beach and throughout our service area. Learn to read these signs and you’ll walk into every contractor conversation with a clear head.
Problem 1: Granule loss in the gutter. This is the most misunderstood symptom in roofing. Some granule loss is normal, especially in the first year after installation, when excess granules wash off. But a heavy, consistent accumulation of granules in the gutters, especially granules of a specific color, means the shingles are aging and losing their UV protection. In coastal Newport Beach air, granules also break down faster due to salt and constant moisture cycling. If you see bare asphalt showing through the granules on the shingles themselves, the shingles are in decline. Granule loss alone doesn’t mean you need a new roof; it means you need an inspection to check the shingles’ remaining life. If the granule loss is concentrated near the ridges or hips, the cause is often wind abrasion or improper installation.
Problem 2: Lifted or curling shingle edges. Curling along the edges of shingles typically indicates one of two things: age or poor attic ventilation. As shingles age, the asphalt loses flexibility and the corners curl upward. But if the roof is newer and you’re seeing curling near the eaves or in specific sections, inadequate attic ventilation is trapping heat and moisture under the decking, which cooks the shingles from below. Fixing the shingle alone won’t solve this. Ventilation correction is the real repair. We’ve seen countless Newport Beach homes where homeowners patched curling shingles repeatedly while the root cause, a suffocated attic with no ridge vent and blocked soffit vents, went untouched.
Problem 3: Lifted or rusted flashing. Flashing is the metal (or sometimes plastic) trim that seals roof penetrations and transitions: chimneys, skylights, valleys, walls, and pipe boots. When flashing lifts, rusts, or separates from the shingle, water gets underneath. In Newport Beach’s salt air, metal flashing corrodes faster than it does inland, especially galvanized steel. Aluminum and copper hold up better, but even those fail eventually. A lifted piece of flashing is almost always a leak point, and it’s also a common sign that the original installation used nails or fasteners that have backed out. This is not a sealant-level repair. Flashing that has lifted or rusted through needs replacement, and the surrounding shingles need to be checked for hidden rot underneath.
Problem 4: Pooling water on a flat or low-slope section. Standing water that remains 48 hours after rain is a structural warning sign. On asphalt shingle roof sections with slope, pooling is rare. But on flat sections, water pooling means the roof deck has settled, the roofing membrane has sagged, or the original design lacked adequate slope. Chronic pooling will eventually break down any roofing material: TPO, EPDM, torch-down, even metal. The fix may require building up the slope with a tapered insulation system, not just coating the area with sealant. A roofer who suggests just “sealing over” a ponding area is treating a symptom.
Problem 5: Cracked or missing caulk around vents and pipe boots. Exposed caulk around a roof vent or pipe boot is a red flag in itself: good roof penetrations are flashed properly and don’t rely on caulk as the primary seal. But if caulk is present and it’s cracked, dried, or separating from the surface, water will find it. In the Newport Beach climate, caulk degrades faster because of UV exposure and constant temperature swings. The real repair is to re-flash the penetration correctly, which may involve removing surrounding shingles, installing a proper boot or collar, and using mechanical fastening rather than caulk as the primary defense.
Problem 6: Dark streaks or staining on the roof surface. Most dark streaks on asphalt shingles in coastal climates are a cyanobacteria called Gloeocapsa magma, commonly known as roof algae. It feeds on the limestone filler in shingles and spreads as a black, streaky stain, especially on north-facing slopes that stay damp. In Newport Beach, where the marine layer keeps north slopes moist, algae is common. It looks terrible but doesn’t destroy the roof by itself. That said, algae often grows where the shingle surface is already porous and aging, so a heavy algae presence warrants a closer inspection of the underlying shingle condition. Some shingle brands, including CertainTeed and Owens Corning, offer algae-resistant granule formulations. When we replace a roof in algae-prone coastal areas, we factor that into material selection.
Which Roof Repairs Are Safe for DIY (and Which Are Not)
We’re roofers, so you’d expect us to say “never do it yourself.” That’s not our position. There are a few small repairs that a competent homeowner can handle safely with basic tools and a tube of good sealant. But there are several that look simple and are genuinely dangerous or easy to make worse. Here’s the honest breakdown.
Generally safe for a careful DIYer:
- Re-caulking a small gap around a vent pipe that is otherwise flashed correctly and in good condition. Use a high-quality polyurethane or roofing-specific sealant, not general-purpose silicone.
- Cleaning gutters and downspouts. This is the single most impactful maintenance task you can do yourself. Clogged gutters cause water to back up under the eave edge, which is a common cause of fascia rot and soffit staining in Newport Beach homes with tree cover.
- Replacing a missing shingle on a low-slope section where you can work from a secure ladder without getting onto the roof surface itself. Know how to use roofing nails properly: they go under the shingle above, not through the face of the new shingle.
- Clearing debris from roof valleys and behind chimneys using a leaf blower or soft brush, from a ladder or with an extension pole. Debris dams hold water against the roof surface and accelerate shingle failure.
Do not DIY these. Call a roofer.
- Any flashing replacement around a chimney, skylight, or wall transition. This requires lifting shingles, cutting flashing to correct dimensions, and fastening it so it won’t leak. Getting this wrong makes the leak worse, not better.
- Repairing a leak on a steep roof. Falls from roofs are among the most common causes of fatal home injuries. A 6/12 pitch or steeper roof is not a place for a homeowner with a caulk gun.
- Anything on a flat or low-slope section. Flat roofing materials (TPO, EPDM, torch-down) require specialized knowledge and equipment. A homeowner-sealed flat roof leak is a case of spending money to fail.
- Structural decking replacement. If your attic inspection reveals soft, rotted, or delaminating decking, the water problem has been present for a long time. This is not a patch job. It’s a section replacement that involves structural framing, and it needs a professional.
- Electrical conduit or HVAC penetrations on the roof. These can be energized. A roofer knows how to work around them safely; a homeowner may not.
If you’re ever unsure which category your problem falls into, ask. We give straight answers. Our Sunridge Roof Repair home page walks through our full diagnostic process, and we’ll tell you honestly whether a repair is something you could handle yourself or something you should not touch.
Red Flags in a Repair Estimate: Signs the Contractor Guessed
Most roof repair estimates are written by someone who never went into the attic and never lifted a shingle. They looked at the roof from the driveway or from a ladder, saw a visible symptom, and wrote a number. Here are the flags that reveal a guess-and-go estimate.
- The estimate is suspiciously specific without an inspection. A contractor who says “we’ll replace the pipe boot and re-seal the valley” after looking at your roof for three minutes from the ground did not diagnose anything. They guessed. No one can see a pipe boot failure from the driveway unless the boot is visibly destroyed.
- No mention of the attic or interior. A real roof diagnosis starts inside. If the contractor didn’t ask to see the attic, the ceiling stain, or the water path, they’re not tracing the leak. They’re selling a patch.
- The proposal is a single line item. “Repair leak: $1,100.” That’s not a repair plan; it’s a hope. A genuine repair estimate should identify the source, the path, the materials being replaced, and the sealant or flashing method being used.
- They recommend a full replacement without explaining the repair alternative. Some roofs genuinely can’t be saved, and we’re the first to say so. But if a contractor jumps straight to replacement without discussing repairability, they haven’t inspected well enough to know.
- The estimate includes “caulk all penetrations” as a primary repair. Caulk is a maintenance product, not a structural repair. If caulk is the headline, the roofer is treating symptoms without understanding causes.
- No brand or material specified. “We’ll match your roof.” Match it to what? There are dozens of shingle brands and product lines. A real repair estimate names the material being used. When we repair a roof, we identify the existing shingle brand, often GAF, CertainTeed, or Owens Corning, and specify the matching product in the estimate. For older roofs where an exact match isn’t available, we say so and explain the closest option, which might be a Tamko or Boral product depending on the profile.
- The contractor asks for full payment upfront. Legitimate roofers in Newport Beach and elsewhere don’t require 100% payment before work begins. Deposits are common on larger jobs, but a full upfront payment on a repair is a red flag.
If you’ve already got an estimate and want a second opinion, our Roof Repair in Lynwood team provides clear, itemized assessments. We’d rather tell you the first contractor was right and you should proceed than have you pay for the wrong repair.
Material Matching: Why the Replacement Shingle Brand Matters
Here’s a detail most troubleshooting guides skip entirely, and it’s the reason many “repaired” roofs still look patched or fail again within a few years. The brand and product line of the replacement shingles matters, not just for aesthetics but for performance and warranty consistency.
When you patch a small area with a different brand or product line of shingle, three things go wrong:
- Color and profile mismatch. Different manufacturers use different granule colors and surface textures. A GAF Timberline shingle next to a CertainTeed Landmark shingle will not look the same, even if both are labeled “weathered wood.” The profile thickness differs slightly, and the shadow lines don’t align, creating a visible patch for the life of the roof.
- Compatibility issues. Shingles are engineered as systems. Mixing brands on the same roof plane can create uneven wear patterns, especially in coastal environments like Newport Beach, where salt air stresses materials at different rates. A heavier shingle next to a lighter one can also affect wind uplift resistance.
- Warranty fragmentation. If the roof was originally installed under a manufacturer’s system warranty, a mismatched repair voids the remaining coverage. That’s a five-figure mistake on a newer roof.
Because we work with seven major manufacturers, GAF, CertainTeed, Owens Corning, IKO, Atlas, Tamko, and Boral, we can match the original product in most cases, or identify the closest available product line when the original has been discontinued. That’s not a sales pitch; it’s a material truth. On a repair, the right shingle costs a few dollars more and preserves the roof’s integrity.
For more on replacement considerations if the diagnosis points that direction, our Roof Replacement in Lynwood page walks through the full material selection process from inspection to final walkthrough.
Newport Beach-Specific Roof Problems
Roofing problems share common patterns everywhere, but Newport Beach has specific conditions that accelerate or alter certain failures. If you live in the area, these are the things we see most often on local roofs.
Salt-air flashing corrosion. Homes within a mile or two of the coast, especially in the Balboa Peninsula, Lido Isle, and Corona del Mar areas, experience accelerated corrosion of galvanized steel flashing. Flashing that would last 30 years inland can fail in 15 to 20 years at the coast. We routinely replace flashings on Newport Beach roofs that are still in good shingle condition, because the metal gave out first. Aluminum and copper flashing resist salt corrosion better, and we factor that into regional material recommendations.
Marine-layer moisture cycling. The morning marine layer that rolls in off the Pacific keeps roof surfaces damp for hours each day, even during summer. This constant moisture cycling stresses asphalt shingles, softens decking over time, and encourages algae growth. It also means Newport Beach homeowners are more likely to see small leaks that only appear during extended rain, because the roof’s water-shedding capacity is already taxed by ambient moisture.
Wind-driven rain on ocean-facing slopes. Homes on the ocean side of the Peninsula and in parts of Newport Coast face prevailing winds that push rain horizontally. This changes the water path entirely: water can enter through ridge caps, gable ends, and the edges of shingle courses, driven by wind under the shingle lap. Repairs on wind-facing slopes often require edge sealing and enhanced underlayment, not just surface patching.
Tile roof underlayment failure. Many Newport Beach homes, especially in Newport Coast and the more upscale hillside communities, have concrete or clay tile roofs. The tiles themselves may last 50 years or more, but the underlayment beneath them typically fails at 20 to 30 years. Homeowners seeing leaks through a tile roof often assume the tiles are broken, when in fact the tiles are fine and the underlayment has deteriorated. Repairing tile roofs requires lifting and resetting tiles, which is specialized work.
Slope and design quirks on older bungalows. The older single-story homes scattered through Newport Heights and the areas around the peninsula were built with roof designs that sometimes lack modern ventilation and adequate slope. These homes are more prone to the ventilation-related shingle curling and algae issues described earlier.
None of these problems are mysteries to a roofer who knows the area. They’re patterns. That local familiarity is why we diagnose from experience, not from a sales script.
Preventing Repeat Repairs: Fixing the Source, Not the Symptom
We’ve repaired roofs that had been patched two or three times by previous contractors. In almost every case, the repeated failure came down to one thing: the earlier repairs addressed the visible symptom rather than the water path behind it. Here’s how to avoid being that homeowner.
First, always start with an interior and attic inspection. This is the step that separates a real diagnosis from a guess. The interior tells you where the water is exiting; the attic tells you where it’s entering. Only after both are understood should anyone walk the roof surface.
Second, address penetrations as a group. If one pipe boot has failed, others are likely close behind. We frequently find that a home with one failed pipe boot has three or four others in the same condition. Replacing all of them at once is cheaper than paying for service calls on each individual boot as they fail one by one.
Third, fix the ventilation if the symptoms point to it. Curling shingles, algae growth, and premature granule loss are often symptoms of a hot, damp attic. Replacing shingles without adding ventilation is a temporary cosmetic fix. The underlying condition will re-curve the new shingles within a few years.
Fourth, choose your materials deliberately. If you’re in the salt-air zone of Newport Beach, choose corrosion-resistant flashing. If your roof is on a north-facing or ocean-facing slope, choose algae-resistant and wind-rated shingles. The brand decision should follow the roof’s specific conditions. We work with GAF, CertainTeed, Owens Corning, and other major manufacturers because no single brand is right for every roof.
Finally, get a professional inspection if you’re not sure. A standalone roof inspection is a small cost compared to the price of chasing a misdiagnosed leak. That’s our approach: inspect first, recommend honestly, and repair when repair is right, replace when it’s not.
Common Mistakes to Avoid
- Sealing the ceiling stain’s roof location without an attic inspection. You’re almost certainly sealing the wrong spot. The water entered somewhere else and traveled. Find the entry point first.
- Using canned spray sealant as a primary repair. Spray sealants are temporary, weather-dependent, and rarely adhere correctly to dirty or damp surfaces. They make a mess and delay the real fix, often worsening the underlying damage.
- Assuming granule loss means you need a new roof. It might, but it might not. A heavy granule load in the gutters warrants an inspection, not an automatic replacement decision.
- Trying to DIY a flashing replacement. Flashing work looks simple from the ground and is genuinely difficult to do correctly on a roof. Lifting shingles, bending metal to the right profile, and fastening it without creating new leak paths takes experience.
- Ignoring the attic entirely. Half of all roof diagnoses can be solved from inside the attic without anyone climbing onto the roof. Skipping this step means flying blind.
- Hiring based on the lowest estimate without comparing diagnosis quality. A $600 repair that doesn’t fix the problem costs more than a $1,200 repair that does, because you’ll pay for both eventually. Compare the diagnosis method, not just the price.
- Waiting until a small leak becomes visible on the ceiling. By the time water reaches your ceiling drywall, it has been in the roof cavity long enough to cause decking rot, insulation damage, and potential mold. The ceiling stain is often the last symptom to appear, not the first. In Newport Beach’s damp climate, that internal damage progresses faster than homeowners expect.
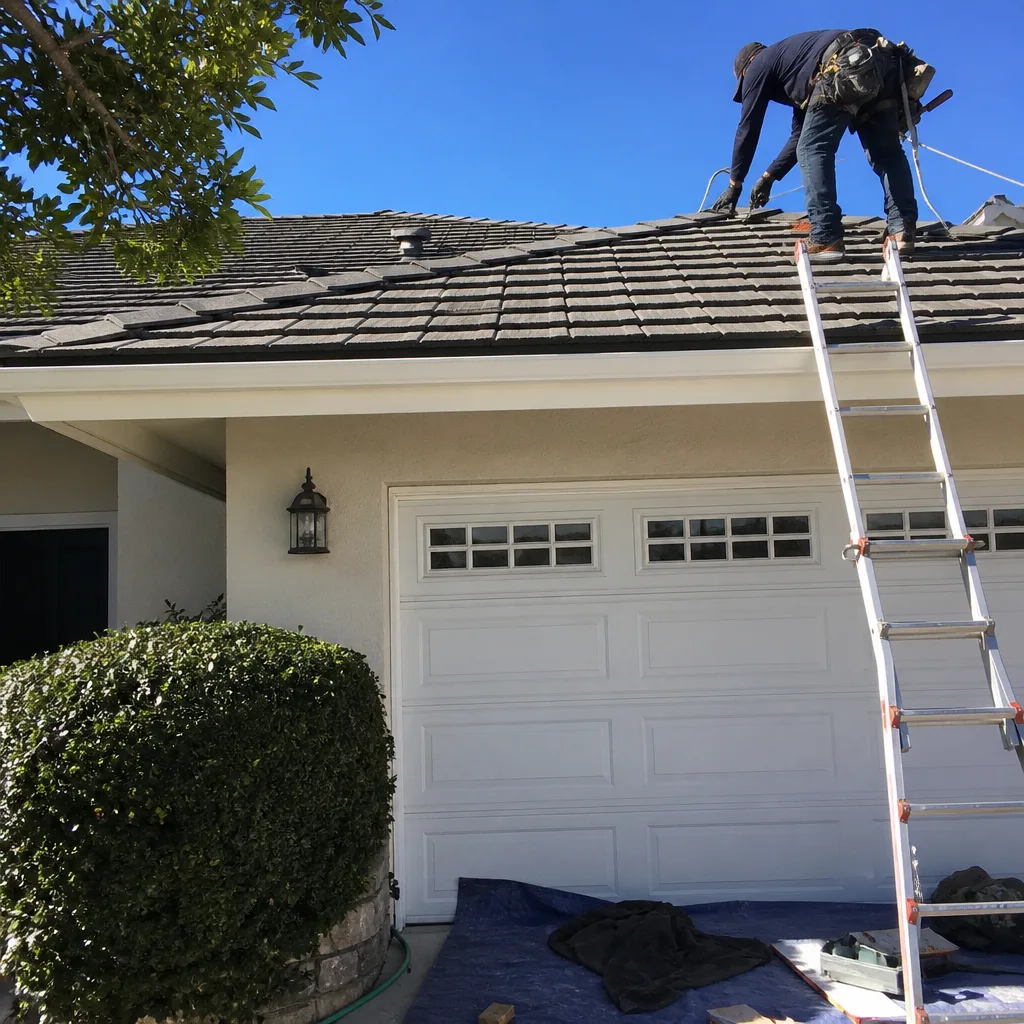
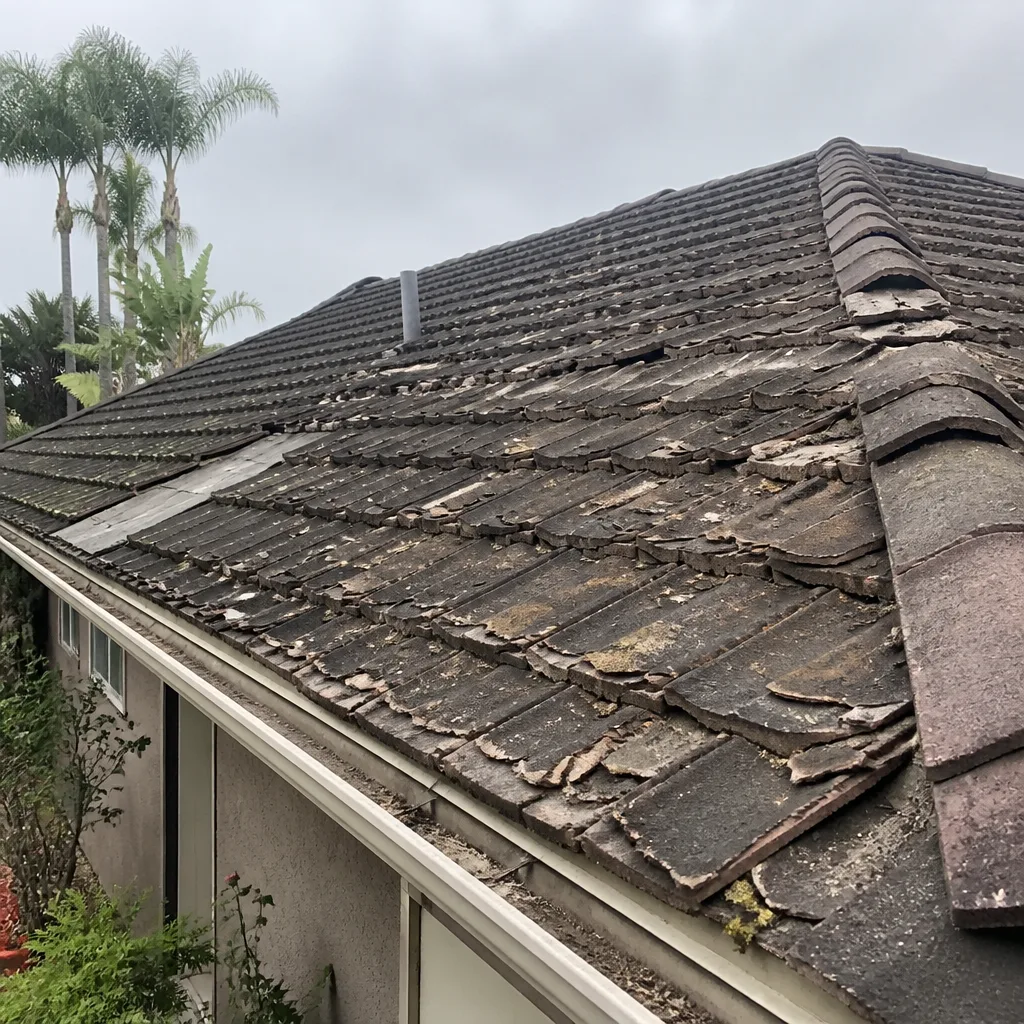
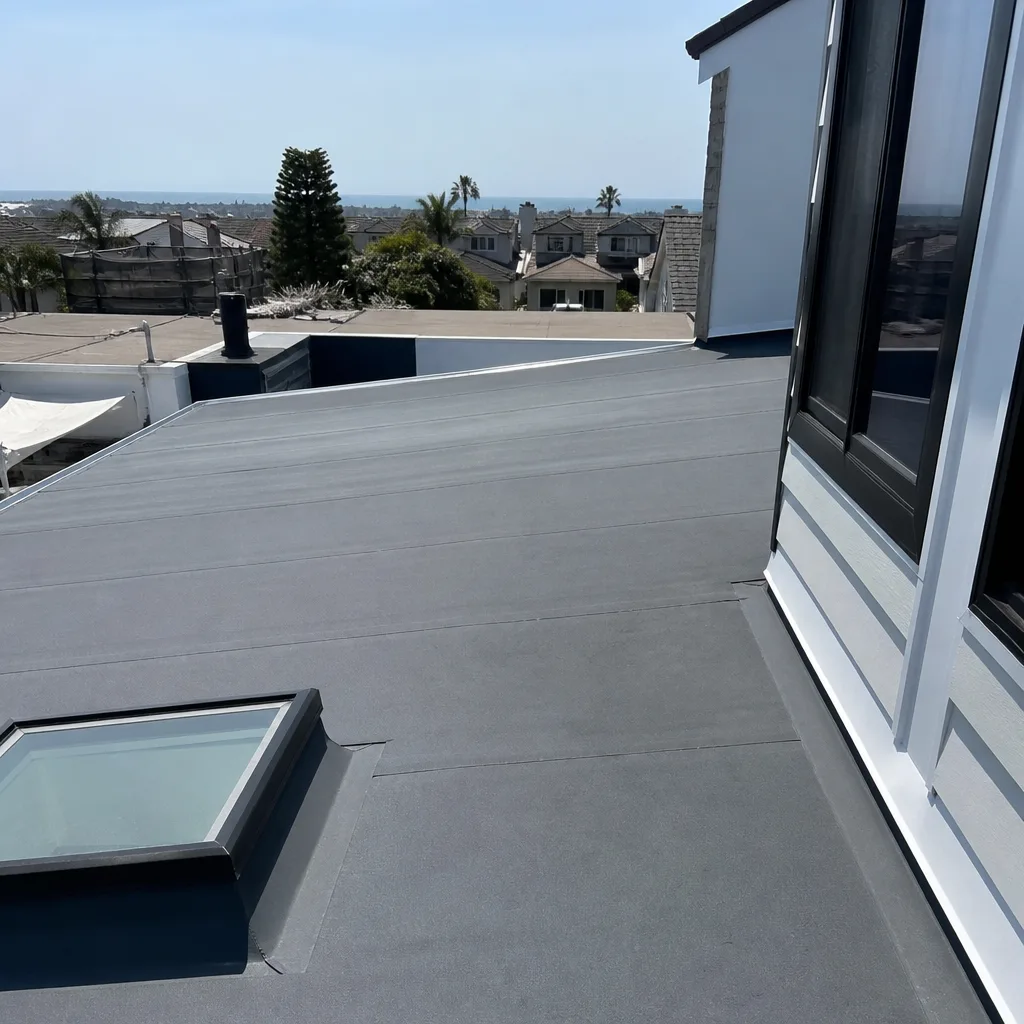
See the difference
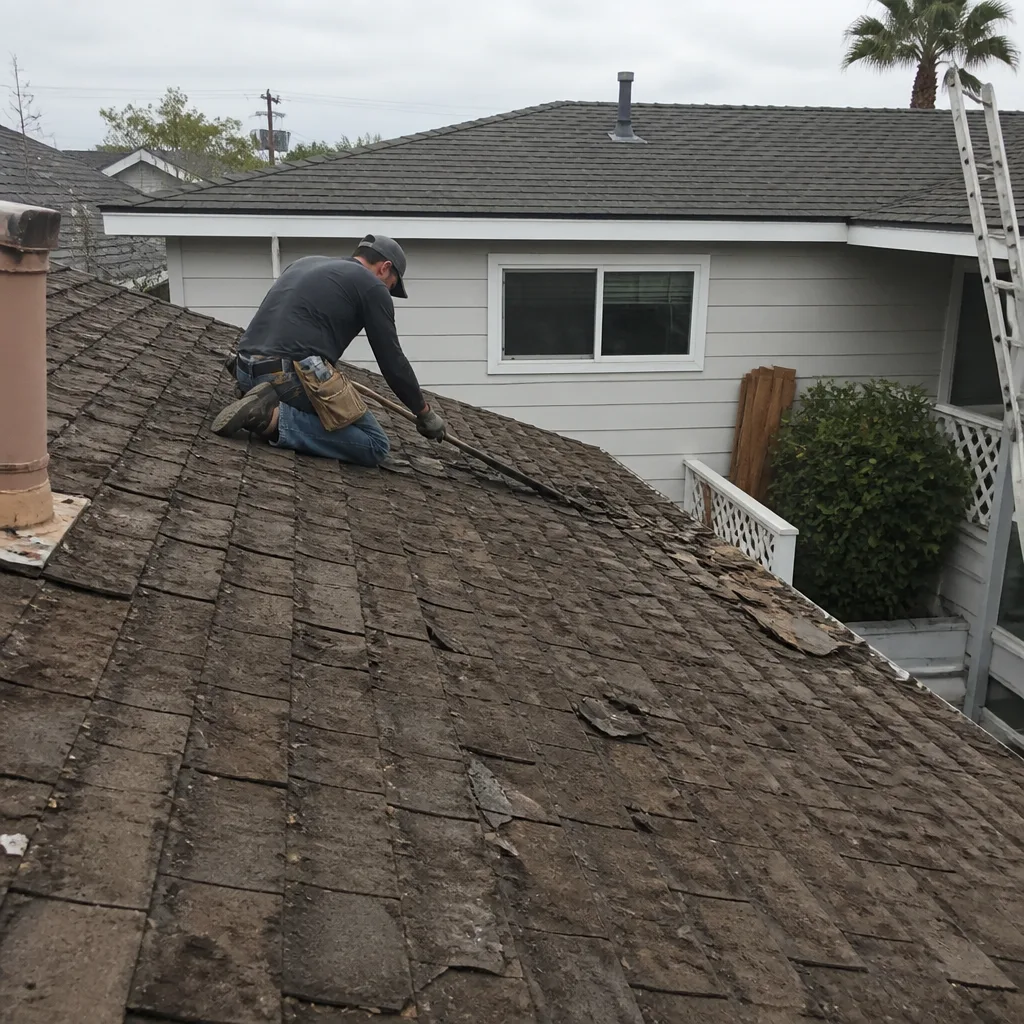 Before
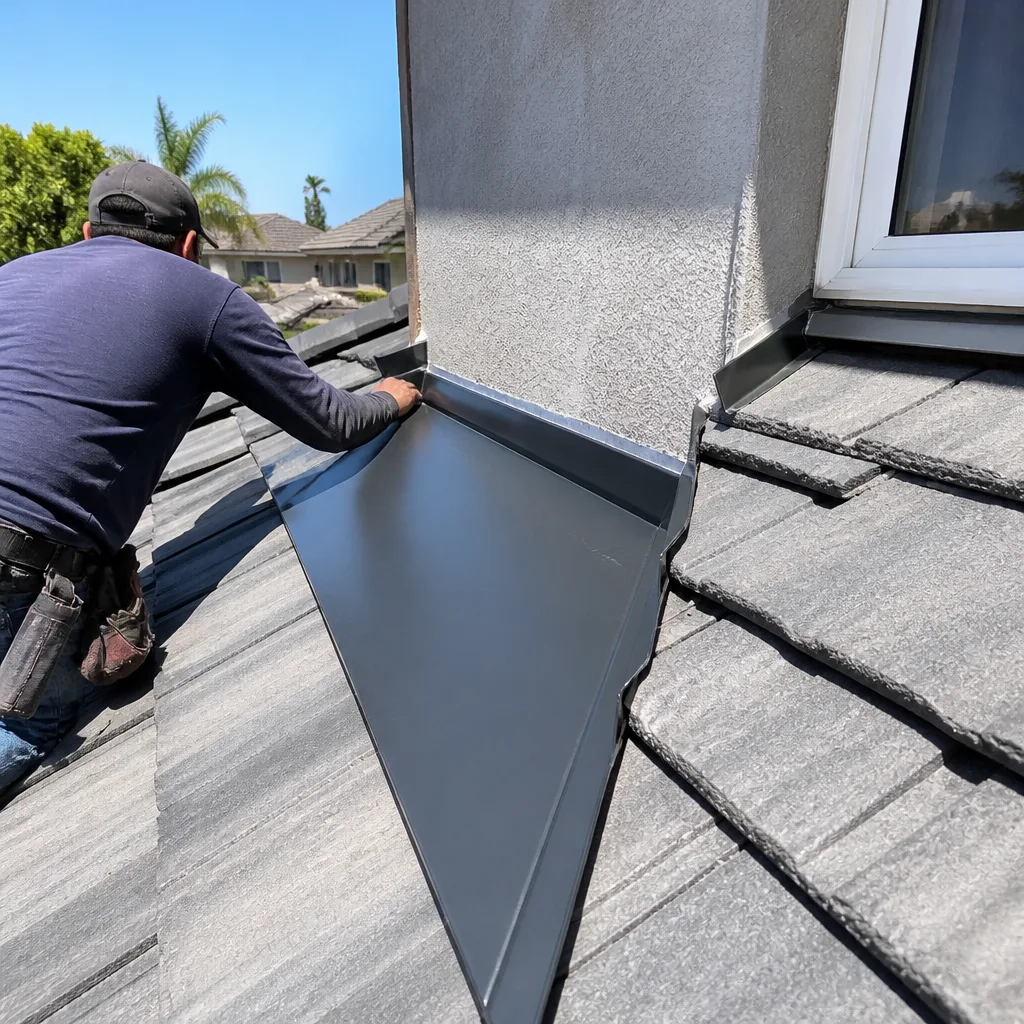 After
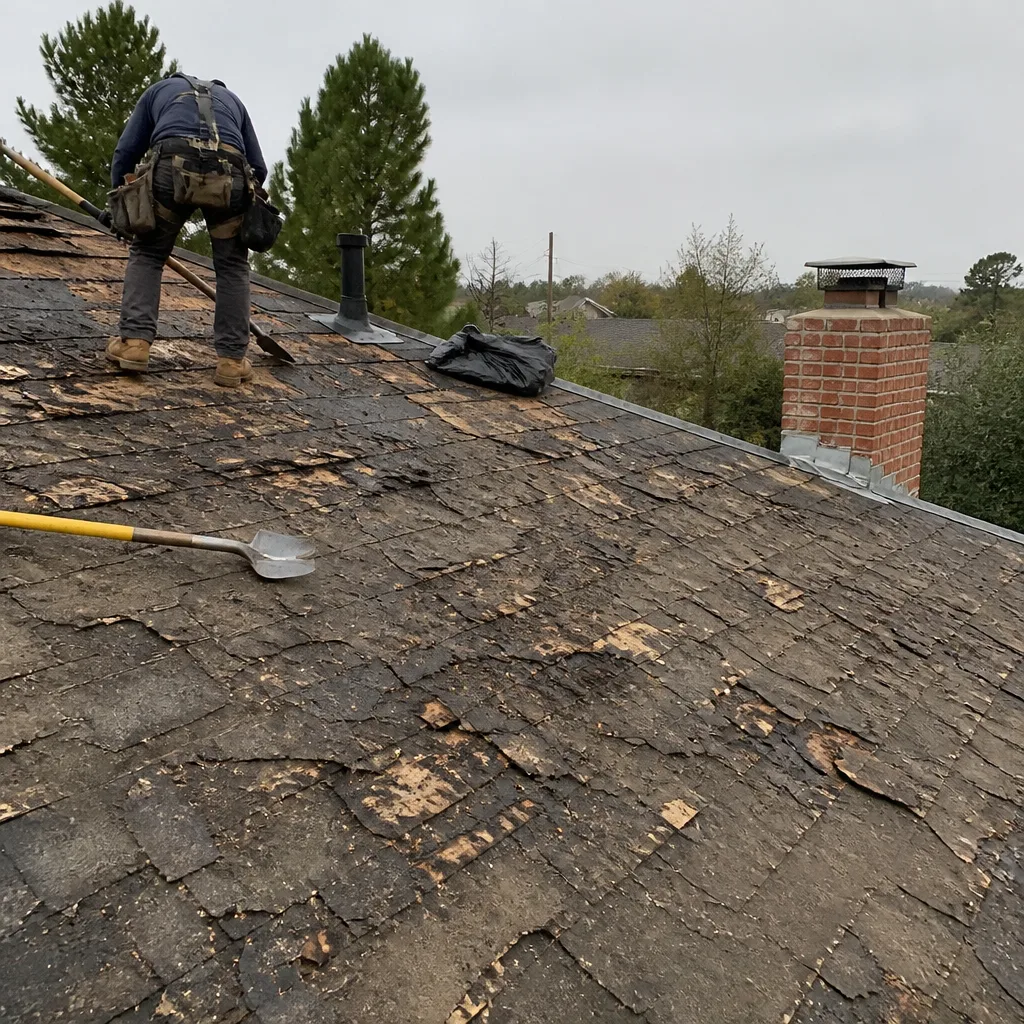 Before
 After
 Before
 After
When to Call a Professional
You don’t need a roofer to clean your gutters or replace a single missing shingle on a low pitch. You do need one when the problem involves flashing, a penetration, a flat section, or anything on a steep slope. You also need one when your attic inspection reveals staining or rot but you can’t identify the source, which is the situation most homeowners find themselves in. The cost of a professional diagnosis is a fraction of the cost of the wrong repair, and it’s the only way to break the cycle of patch-and-fail that plagues so many roofs. See our Roofing Emergency Preparedness Guide for Newport Beach Homes to stay ahead of sudden leaks. Sunridge Roof Repair offers free estimates in Newport Beach, call (833) 589-5180.
Frequently Asked Questions
Start in the attic during daylight hours. Turn off the lights, let your eyes adjust, and look for pinholes of sunlight through the decking. Check around every pipe boot, vent, and penetration for dark staining or moisture. The entry point is almost never directly above the ceiling stain, so trace the water path along rafters and decking seams. If you can’t find it from the attic, call a roofer who does interior-first inspections, which is the only reliable way to trace a hidden leak.
Minor repairs like a single pipe boot replacement or a small flashing patch typically run $350 to $800 in the Newport Beach area, depending on roof height, pitch, and material type. Moderate repairs involving multiple penetrations or a valley re-flash usually fall between $800 and $2,000. Structural repairs that require decking replacement or underlayment work exceed that range because the roofer is rebuilding a section, not just patching it. The only way to get an accurate number is an inspection that traces the actual water path; estimates without an inspection are guesses. Call (833) 589-5180 for a free estimate with a real diagnosis attached.
It shouldn’t, if the original estimate was based on a real inspection. The reason prices change mid-job is usually that the contractor guessed from the ground and discovered the true scope once the shingles were lifted. When we provide a repair estimate, we’ve already been in the attic and on the roof, and we itemize the work so the price holds. If the underlying decking is rotted and wasn’t visible before removal, we’ll stop and show you the damage before proceeding, rather than running up the bill. That transparency is standard practice for a roofer who diagnosed correctly the first time.
A handyman can clear gutters, replace a missing shingle in an accessible spot, and re-caulk small exterior gaps. But a handyman cannot reliably diagnose a water path, replace flashing correctly, or work on a steep or tile roof. In Newport Beach, where salt-air corrosion and marine-layer moisture create specific failure patterns, the diagnosis itself is the hardest part of the repair. Hiring a roofing specialist for the inspection, even if you use someone else for the fix, is the better call.
Annual inspections are cheap insurance and catch small failures before they become ceiling stains. We recommend twice a year for homes within a mile of the coast, where salt corrosion and wind-driven rain accelerate flashing and underlayment wear. A standalone roof inspection, without any obligation to buy a repair or replacement, is something we offer because diagnosis should never be bundled with a sales pitch. Browse more guides & resources for year-round roof maintenance tips.
We work with shingle and roofing products from GAF, CertainTeed, Owens Corning, IKO, Atlas, Tamko, and Boral. That’s seven major manufacturers, which lets us match existing roofs on repairs and recommend the right material for replacement based on the roof’s specific conditions, not supplier incentives. On the coast, we might lean toward brands with strong algae resistance and wind ratings. Inland, the calculation shifts toward lifespan and budget. Your roof drives the recommendation.
The Bottom Line
Roof repair troubleshooting boils down to one discipline: diagnose before you fix, and trace before you patch. The stain on your ceiling is the last piece of evidence in a chain that started somewhere else, often far away, and any repair that doesn’t follow that chain will fail. Get into your attic in daylight. Learn what granule loss, lifted flashing, curling shingles, and pooling actually mean. Know which repairs you can handle and which you can’t. And when it’s time to call someone, call a roofer who starts with the diagnosis, not a bid. Sunridge Roof Repair offers free estimates in Newport Beach. Call (833) 589-5180 if you’re ready for an answer, not a guess.
Written by the team at Sunridge Roof Repair, serving Newport Beach since 2011.